Futurist Speaker Filming & Livestream Kit
The Actionable Futurist® Andrew Grill is one of the few professional speakers globally who films each of his talks. Here he explains the gear he uses.
UPDATED August 2022: New entry in captions to introduce VEED.
As I’ve written about previously over on my blog, I film each and every one of my public speaking engagements. You can see the results on the video page.
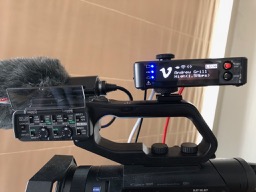
Camera: I use two cameras. My original Sony FDR-AX33, and a Sony PXW-Z90 which is the bottom end of the Sony professional camera range and is pictured below. The box fixed to the rear of the handle is the Teradek Vidiu livestreaming device referred to later on in this article.
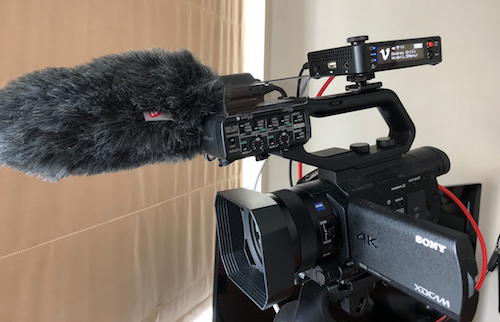
The Z90 can shoot in 4K and has integrated XLR audio inputs on the handle, which is an improvement from the FDR-AX33 where I had to use a separate XLR input box on top of the camera. For the techies reading this, the Z90 camera shoots in XDCAM and uses the XAVC 4:2:2 Long profile.
Translation: broadcast quality video and audio in the one compact camera.
Both cameras can also stream live via Ustream. They have WiFi (the Z90 has 2.5GHz and 5GHz) that allows me to check the angle and framing coming from the stage remotely on stage using my iPhone and an app called Play Memories, or Content Browser Mobile in the case of the Z90.
The Z90 has 2 SD card slots and I have a Sandisk 256GB card in each that allows me around 9 hours of recording at 1080p resolution on each card. The camera daisy chains so when one card fills up, it automatically starts recording on the other card.
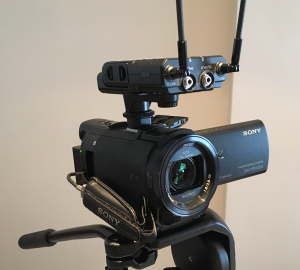
I also use large capacity camera batteries and always try to plug into a power outlet. The picture below shows the AX33 fitted with the Sony UWP-D11 wireless diversity receiver mentioned below in the audio section. This receiver can also be attached to the top of the Z90 handle.
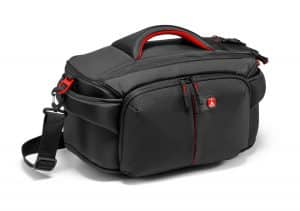
I keep the camera and all audio gear safely packed on a Manfrotto camera bag which I carry on as hand luggage.
 Tripod: I use only Manfrotto tripods. For travel, I use a compact Befree live fluid head tripod and this is small enough to fit in my suitcase. With a fluid head, it provides smooth panning shots.
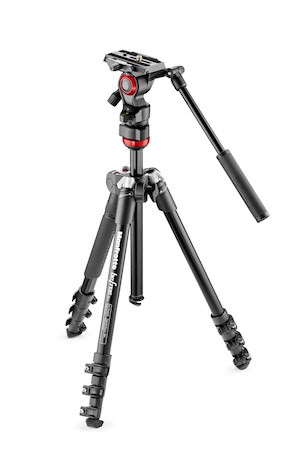
I also use a more sturdy 500 fluid video head & 755XB single leg tripod for when I need a more solid setup (and yes I have taken this tripod around the world). Cabin crew often ask if it is my trombone when it is packed in its carry case.

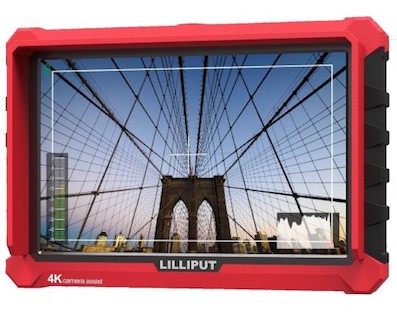
Video Assist: This tripod also allows a Lilliput 7″ 4K video monitor to be attached to the tripod to allow me to properly frame shots. It is fed via HDMI.
 Audio: This is the most important part of the kit in my opinion. As the video will be a static shot of me on stage, the quality of the audio is absolutely key.
UPDATE: The Z90 has the 2 x XLR connectors and audio controls described below as part of the camera handle, which means I don’t have to pack an extra box each time I travel.
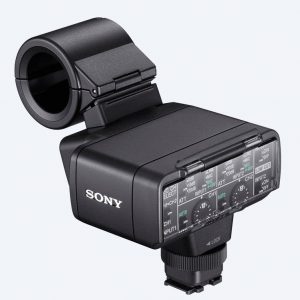
The AX-33 was great because of the compact size, yet excellent picture quality, however, it lacks direct XLR audio connectors found on larger and more expensive cameras such as the Z90. To overcome this, I used the Sony XLR-2KM audio box which allows 2 x XLR inputs with complete control over line level and gain. It sits on top of the camera and connects via an “intelligent” tripod shoe so the audio is routed straight to the camera without having to use the camera microphone input jack.
If you have made friends with the AV crew as per the first point in my blog post, they will kindly run an audio “feed” from the main mixing desk to your camera so your audio and any audio from the laptop and roving mics during Q&A will be captured.
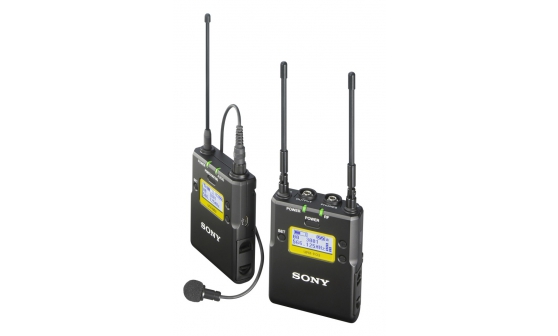
To capture my audio I use a Sony UWP-D11 Wireless microphone transmitter & receiver with a Sony ECM77MBMP lapel microphone. The mic supplied with the UWP-D11 is ok but for a more professional sound and look on stage the ECM77B is my choice. I wear 2 mics – my own and the one for the house as I don’t always get a clean audio feed to my camera and also as a backup to ensure I get clean audio if something happens with the feed from the mixing desk. I use rechargeable batteries as the UWP-D11 kit allows the transmitter and receiver to be charged via a USB port.
The range of this kit is excellent, and the receiver has “diversity” in that has 2 receivers (all fed by a separate antenna – hence 2 antennas in the picture) so if the signal drops on one receiver, the audio is picked up by the other. I have run this system in large halls and rarely had a problem with range and interference. The units operate in the 600MHz UHF band and can be tuned to multiple frequencies. As you’re already friends with the tech team, you will know what frequencies they are using for their radio mics and ensure you’re well away from their channels.
Lighting: When I need to get a voxpop or a testimonial on camera after a talk, I need to ensure the subject is well lit.
Recently I was introduced to UK company Rotolight who make very distinctive (circular) on-camera and studio lights. I invested in the Neo 2 light that is battery (or external power) operated and provides a very bright light, AND you can adjust the colour temperature on the unit. The light is well built, and also comes in a very sturdy carrying pouch.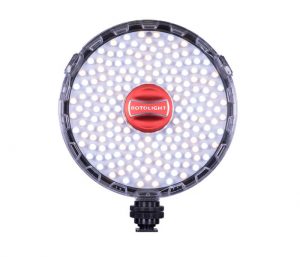
Video and Audio files: If you use video or audio in your presentations – please take note of this tip!
Embed ALL your videos and sound files on your laptop locally If you need to use the venue WiFi to play a video – it will fail (and you will look super unprofessional). All recent versions of PowerPoint allow you to embed and play videos locally.
There are a number of programs that let you download YouTube files (google this) so you can have a local copy of the mp4 video on your laptop.
Editing: I use Adobe Premiere Pro CC – I have been editing with this for years and it gives you more flexibility than Final Cut Pro in my humble opinion. Also buy yourself some external hard drives for storage. One 30 minute talk can be up to 30GB in size from the camera. I edit all my talks myself using Premiere Pro.
Hosting: I host all of my videos on Vimeo. It gives you much more control over branding, embedding and provides the ability to present your videos in a much better way than on YouTube (read more on this here). I cross-post key videos on YouTube for the greatest reach, but for all of the videos on my site and blogs, I use Vimeo exclusively.]
Captions: Most videos on social media are watched with the sound off so you’re going to have to caption them. I used to do it myself but it took ages to get right. Instead, I use Rev.com and pay $1 per minute to have the captions transcribed by a human, and not only have the captions delivered straight back to my Vimeo channel, and the captions in about 12 different formats, but they also provide a neat online editor to tweak the captions.
UPDATE August 2022: I was contacted by the team at VEED who saw this post to try out their video transcription tool, and it works really well. See how easily you can transcribe a YouTube video using VEED.
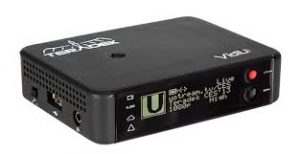
Livestreaming: Vimeo now allows livestreaming as part of their premium accounts. In order to stream to sites such as Vimeo, you will need an encoder. I chose the Teradek Vidiu. This will allow you to mount this on top of the camera and livestream via ethernet, or 2.4/5GHz WiFi to Vimeo, Facebook, Periscope, Livestream, Ustream, and a couple of other platforms I’ve never heard of.
I’ve live-streamed several of my keynotes now, and in the new normal of hybrid events, I can now live-stream from any venue in the world with decent WiFi.
If you implement just some of these tips, you will be on track to become a great public speaker! Watch me implement all of these tips below in my keynote showreel and read some bonus tips here on how to be a great public speaker.
Why do I bother doing all of this?
I speak for a living. I am generally booked either
- by a previous client
- via my agent as a referral from a Speaker Bureau
- via a referral from another speaker
- as a result of seeing me presenting on video
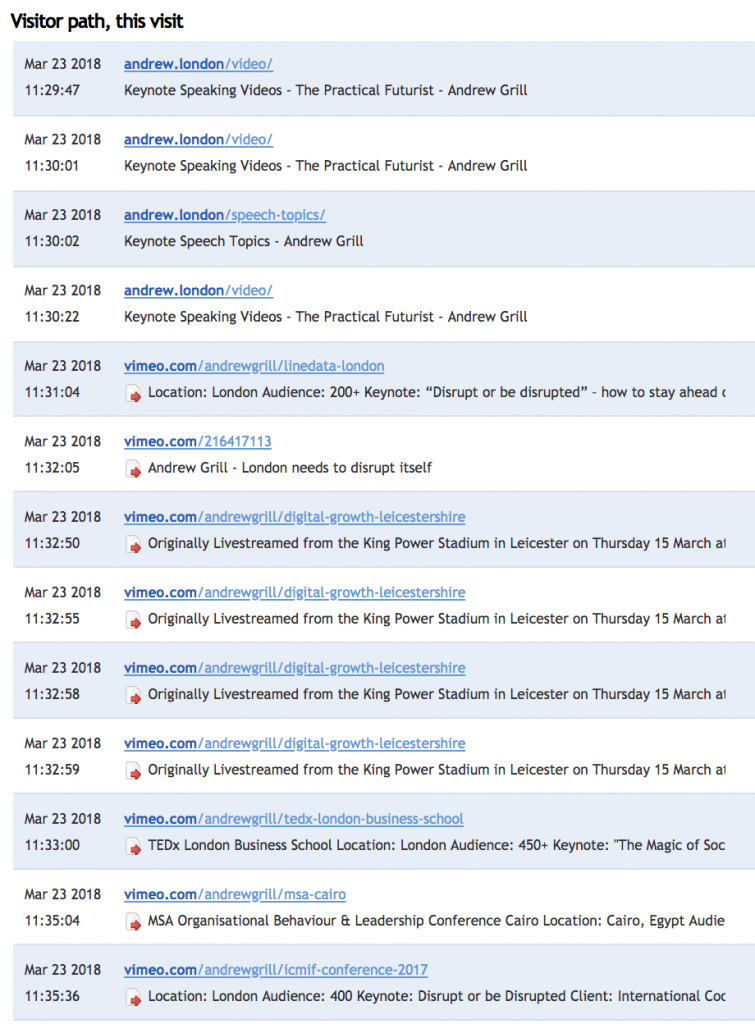
To prove point number 4, recently I received an enquiry from Euler Hermes – a global leader in Trade Credit Insurance, and now part of Allianz. Their production agency had seen a video of me presenting and thought I might be suitable for their annual leadership event in Brussels. I had a detailed discussion with the client and then pointed them to my video page where my recent talks are presented.
A few days later, I noticed via my web analytics tool Clicky that they were on my website looking through all of my talks (see below). There is no better way to see “what you’re going to get” via a high-quality replay of a recent talk. I can honestly say that the investment in this kit was realised in just one talk!
Why don’t I just use the video from the organiser?
Nine times out of 10, if the organiser has actually decided to film all or part of my talk, the footage is nearly impossible to get hold of after the event. The filesizes of the footage (especially if shot in 4K) can be in the 10s or 100s of GB range. Legally the organisers also own the rights to the footage so I’m not always able to use it in the way I want to. By filming the event myself, not only do I get a high-quality version of my talk, I also own the rights to the high-quality raw footage.
In those one out of 10 times, I have managed to collaborate with the on-site video crew. When I spoke at the Superfast Leicestershire Digital Growth Conference, I made friends with John Starkie from Purpose Media and we shared 1080p footage from our respective cameras.
John was operating a camera that followed me on stage (impossible for me to do as I was ON stage), so I was able to edit his footage alongside mine from 4 different camera angles – the result can be seen below.
If you found this interesting and useful, please contact me directly or tweet me @AndrewGrill.
